|
Custom Puzzle Craft Kite Restoration Project - Part 3 - Taken Apart |
After inspecting the kite it became evident that major repairs would be required to restore the kite to it's glory! I realized that I needed to take the kite completely apart, do bamboo structural repairs at numerous places, create new artwork for the Dragon's head, print and replace, create new artwork for the disks, print and replace, redo the tassels and restring the kite! In order to do this I need to carefully document how everything was put together while taking the kite apart, particularly as I wanted to use materials and bonding methods as close as possible to those used in the original kite.
The String
I first removed all of the kite's string, starting from the rear and working my way up to the front. I made sketches of how the knots were tied so I could tie the knots the same way. At first I kept all of the string organized in the piles in the sequence I removed it for each of the three runs as I planned to use the original string, but later abandoned this idea, for reasons I'll discuss in Part 4.
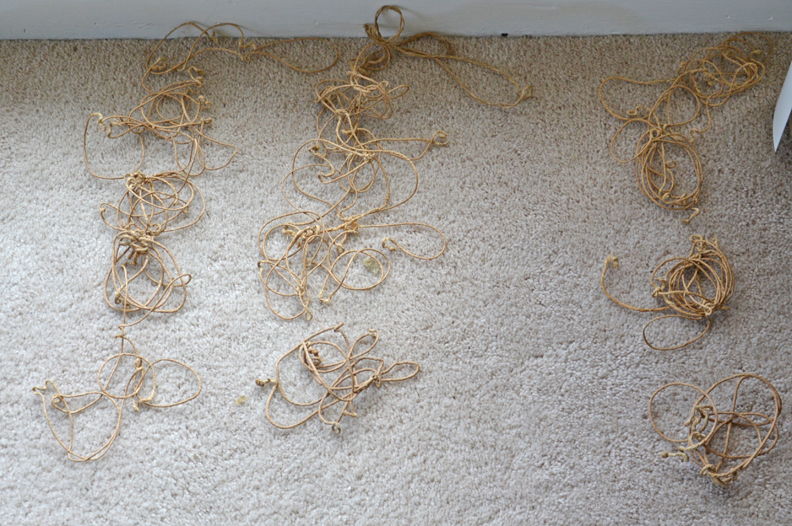
Some of the dragon kite string
Piles of disk sections after string removal
I first started removing paper with the Dragon's Head. Initially I was going to remove the head's paper, fix the structure and redo the paper, but when I realize how much of a learning curve there was regarding the head's bamboo, I put the head's structure aside and focused on the easier although still challenging disk sections.
The Head
Before removing the paper from the Head's structure, I placed the head in my old Epson Perfection 2450 Photo scanner and scanned front portions of the head in multiple scans for eventual image reconstruction in Photoshop. I also took a bunch of photographs of the back of the head to document the structure.
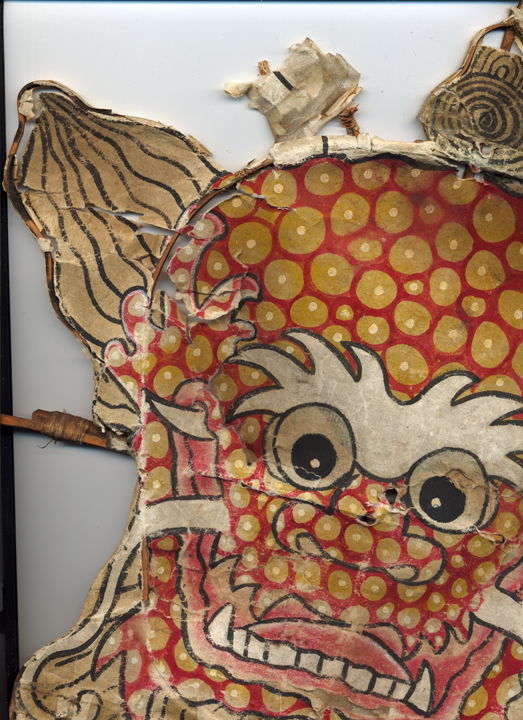
Typical head scan showing major wear where the paper came in contact with the rim of the frame
The paper came off extremely easily, it was very fragile and already torn and worn in numerous places. I kept a couple larger pieces for matching the print's colors in Photoshop.
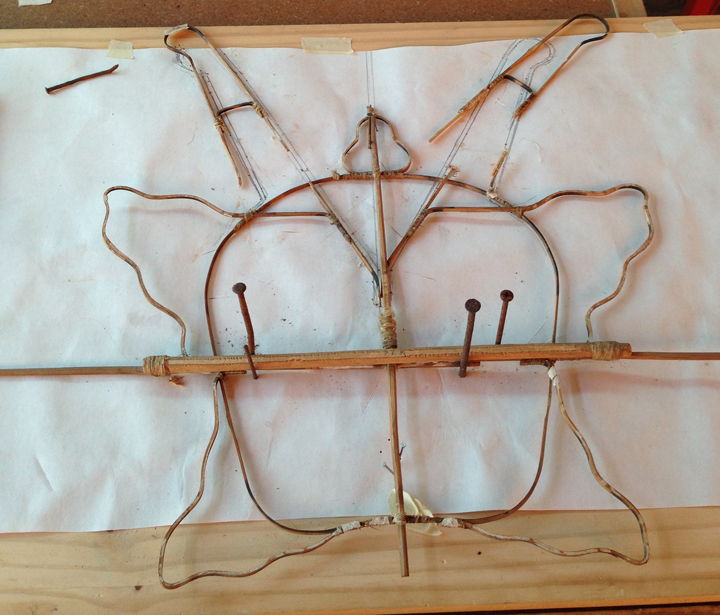
The Dragon's Head frame before any repairs
The main vertical spar was a bit crooked from vertical to the big horizontal spar
Scorch marks are evident where some of the bamboo bends are located
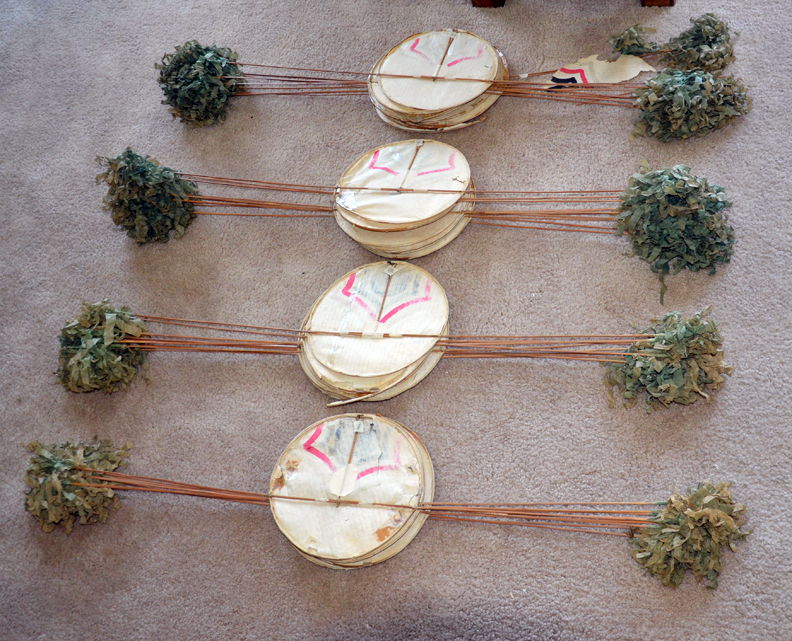
The Disks & Tassels
I then processed each disk section, one by one, starting with the one closest to the head and working back. I removed the circular sheets of paper and scraped off residue glued to the bamboo. After the disk structures were cleaned up, I removed the tassels, managing to keeps several tassels which were in relatively good shape intact for future examination in order to figure out how they were made. Prior to removing the disk papers, I scanned one of the better ones for recreation in Photoshop.
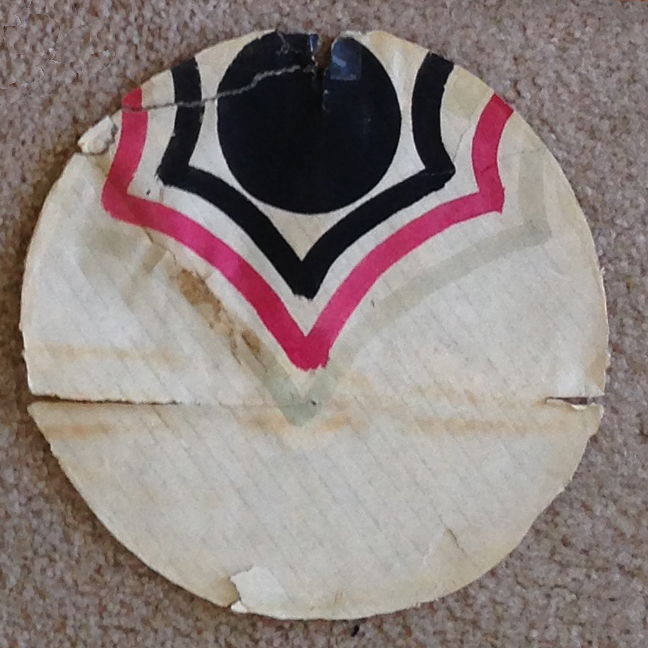
Paper from the interior rim of one of the disks
Wear is very evident along the line of where the horizontal spar was
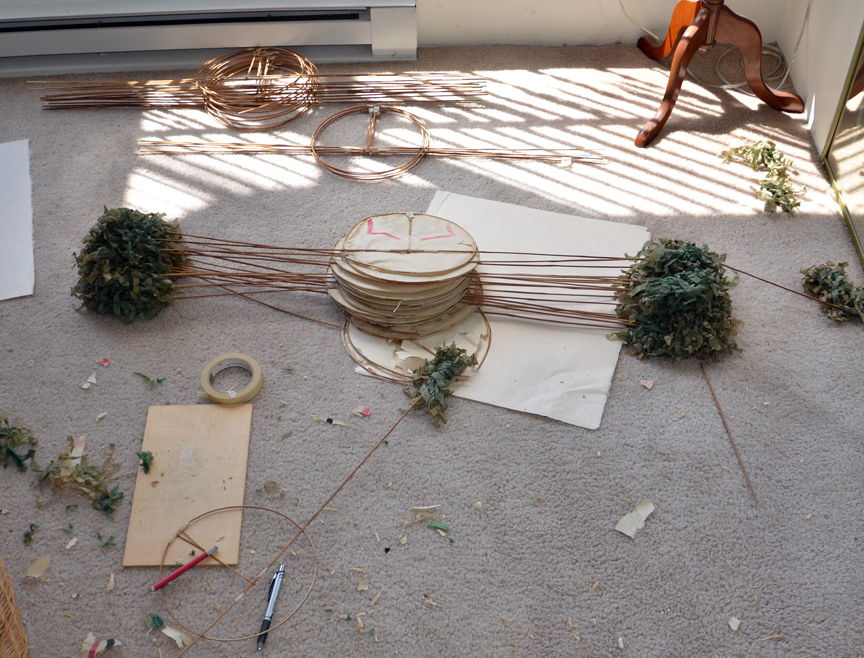
Disk paper and tassel removal
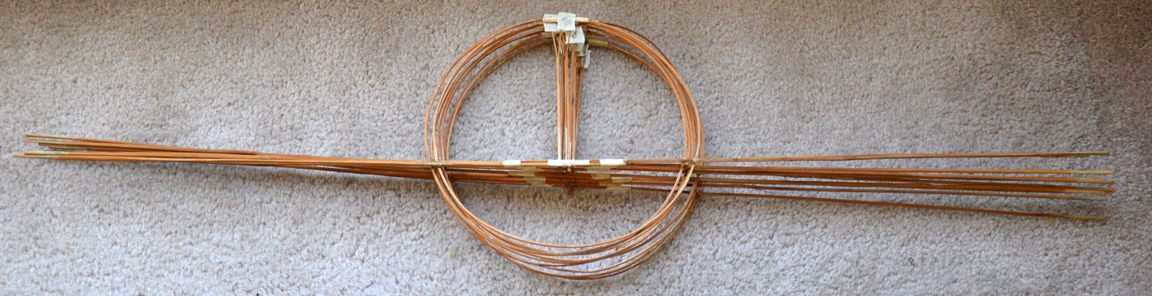
The original bamboo structure of some of the disk sections not requiring structural repair - the horizontal wrapped paper joining the two 22" spars at the center is original
Tape with sequence numbering placed near the top as I maintained the original sequencing throughout the project
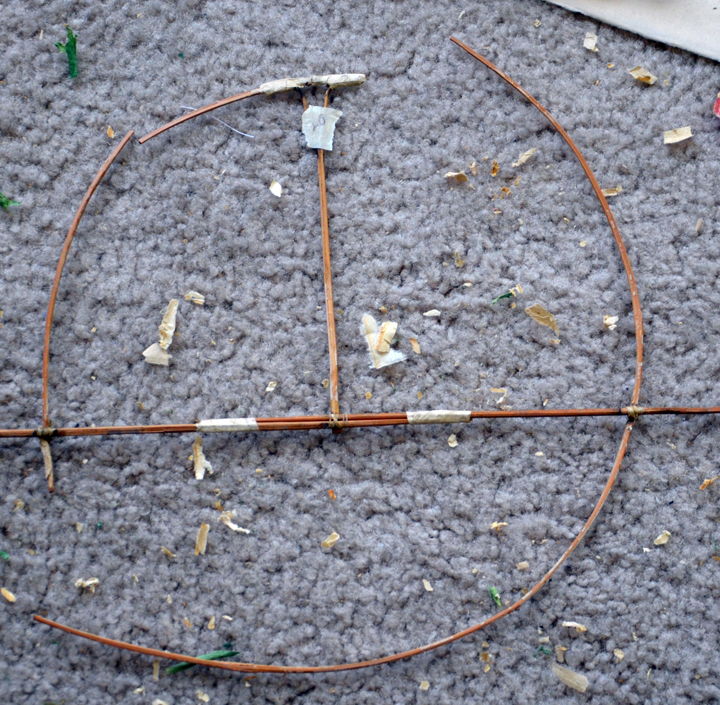
A disk structure in very poor shape (was #20 from the front)
Is the kite ever going to fly again?
|